Attaching The Upper To The Mid-Sole
Or: And you thought your life was hard...
|
You'll start this section by skiving the edge of the upper where it
attaches to the midsole, that is, if the upper is made of a fairly
thick leather, 5 ounces or more. Re-read this section
for more information on skiving wherefores.
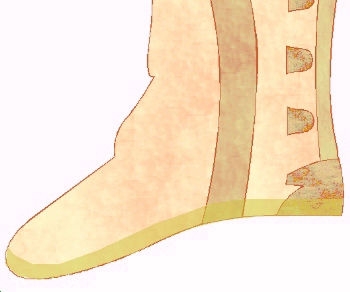
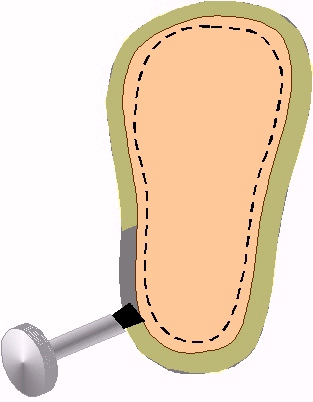
We'll continue by applying cement now to the upper and the welt on the sole. Be careful with the cement on the upper. If you get sloppy on the side that shows, it will show when the boot is done, even if you have a canful of Barge Thinner (it darkens the leather where it touches). Temper this by knowing that where the cement is being applied it's going to be close to the ground with a seam nearby...just be careful. Something to keep in mind: the tan side of the sole illustration will be the outside of the boot...the soft leather (gray) is where your foot will eventually go. Click here to review. Once the glue is applied and has had time to dry (and lost its stickiness), turn the upper inside out. |
|
|
|
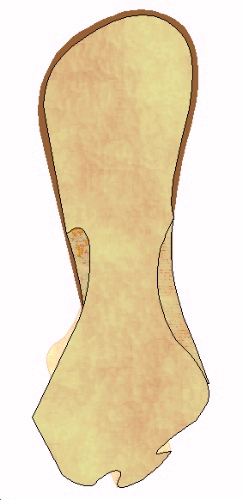
Press the upper to the welt of the sole, aligning the big toe and the center back markings
(at least). Remember, with Barge you only get one shot so be careful. Now,
I have illustrated the edge of the upper (dark mottled yellow) as sitting back a bit from the edge
of the sole (dark brown). This is
for clarity of illustration only! The edges should be flush. Note: If you have made the upper properly, you may have to stretch the edges of the upper to fit it to the sole. You may even have to stretch them a lot. You may even have to go so far as to let the sole/welt buckle a little, so that they compress a bit when they're pressed against the upper. It's all part and parcel of the whole gig, and frustrating as hell. If you've been successful so far, go do the other boot, then quit for a while. The cement really needs time to sit and grab the leather, and you really need time to sit and grab a beer (or whatever it is you drink to relax). Give it a couple hours or so. |
